
|
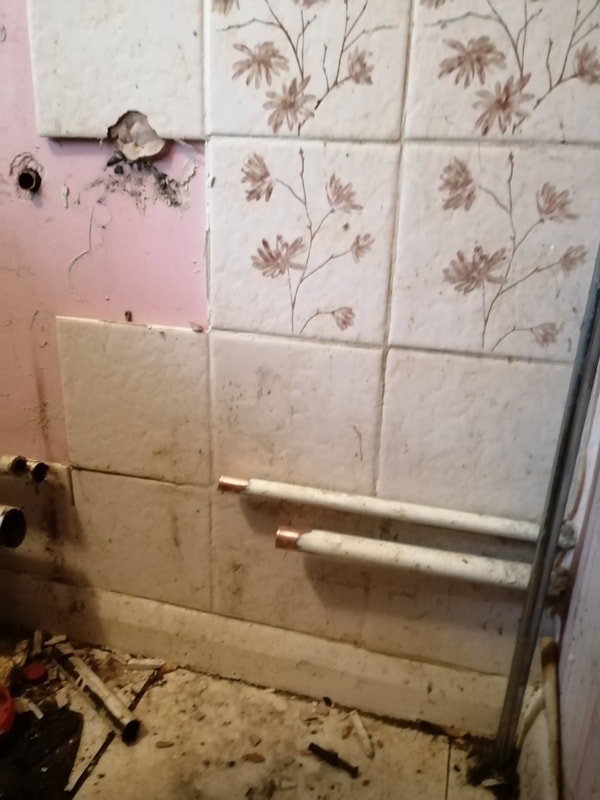
When we went up to Stoke-on-Trent for child No. 2's graduation, we needed to stay the night before, and for some reason unknown to me, Dave and I ended up in an accessible room - with a walk-in shower. OK so the wet room wasn't that well designed because pretty much the whole room got wet and I had to build a "bridge" to the loo with the shower mat and towels, but it got us thinking... When was the last time we actually used the bath for a bath? OK, we had a roll-top bath in the apartment we had for summer hols a couple of years ago and it seemed rude not to use it, but to be honest, getting in and out made it a bit of a palaver. So, after we were back from Stoke, we decided to take the radical step to get rid of the bath, and install a walk-in shower. We selected what we wanted in the way of sanitary ware from Victorian Plumbing, but as we'd never completed the full bathroom refit we did not long after moving in, we didn't need a new loo or basin. Then to planning... To be frank, the plumbing in the existing bathroom is a dog's dinner (it was like it before we got our hands on it!) and the walls are far from flat, so we thought it best to install a couple of false walls to hide the pipework from the basin that used to be hidden behind the bath and the plumbing for the shower unit itself (and to accommodate the possibility that the new loo might need to be further out from the end wall than the current one is). So we needed studwork and backerboards for that. That, of course, would make tiling those two walls considerably easier. We selected tiles from Topps Tiles and decided to tile the whole room. Then I booked some time off work. Orders were issued that the final shower in the old bathroom would need to be completed by 10.00 (ish) on Saturday morning and after a trip to ToolStation for some plumbing bits and pieces, rippage commenced at about 1.30 pm. I forgot to mention, we got a bathroom-rip-out sized Hippo Bag (yes, they really come for that - look for yourself). All the junk that had accumulated under the basin over the last 20 years went first, then the basin and its pedestal, so Dave could cap off the hot and cold water feeds that came out the side of the airing cupboard. I had forgotten how hideous those tiles were... Once he could get to the pipes we turned the water off and he set to with the little reciprocating saw... the one with a 20 mm blade that wouldn't make it through the 22 mm plus paint pipe... (picture 1). I was packed off to ToolStation again for a bigger saw blade and some wet and dry sandpaper to get rid of the paint (pictures 2 and 3). The next step was to cap off the pipes so we could turn the water back on again, which went very well for about 2 seconds, then Dave slipped off the spanner and sliced his right index finger open against something on the floor (screw head or tile shard) and picture 4 ensued. Wrapped it up tight with plasters and tape so he could get the pipes capped, then reassessed and re-dressed with plasters and more tape. Time to stop for day one.
0 Comments
Your comment will be posted after it is approved.
Leave a Reply. |
Archives
November 2023
Categories
All
|


 RSS Feed