
|
Yep - really. Finished. There are a load of leftover bits, but nonetheless the build is complete. I ventured out in the warm to put the storm braces on, which we decided to mount on the outside. That required 8 holes to be drilled in the right places then the braces bolted in place. I drilled the top holes for the fence side braces then hung them on their bolts to mark the lower drill points. Now, gravity did its thing and they hung more or less vertically, but as we know we have a back to front tilt, I applied a spirit level to kind of average out between "straight by eye" and actually straight... stuffed a pencil through the slot then drilled the lower holes. I applied all the ironmongery from the outside, then went in to add the nuts to the tops and the wingnuts to the bottoms. Finger tight all round, as the intention is to prevent vertical motion rather than sideways. Repeated on the shed side again, adjusting for gravity vs art and was pleased to see the bottom of the front brace cleared the tortoise run, for ease of access. Getting pretty sweaty by now, given how warm and humid it is today. I then decided to bite the bullet and get the bearer end strips on. That meant shaving a bit off the bearers on the shed end, because they were sticking out a millimetre or two. I tried using the "oscillating multi-tool" (best described as a funny little mini-reciprocating saw that cuts perpendicular to the big one) and didn't get very far. Then, of course, Dave had a go, realised I had hit a screw without noticing and proceeded to cut around it (needed the angle grinder to get rid of the screw tip) and trimmed the end piece (under the gappy corner if you remember that far back) for me. I then measured the tannilised 10x45 mm strips for length (measured both sides just to make sure, and of course they were the same length...), Dave cut them for me (with the weird tool) and we decided pilot holes were only necessary if I was going close to the ends, I wasn't as it turned out, even though we put a pilot hole 1 cm in from each end. Shed side was a pain because the tortoise run is so close (I tried the narrow right-angle headed screwdriver first, but even that was too big) so I ended up using a stubby posidrive manual screwdriver on a couple of the screws and to be fair, the tort run made a nice seat when doing the second screw. All others went in fine with the Bosch. I had to brush some gravel from the ends so the strips would lay straight but as their function was to keep rodents from getting under the floor, a few tiny gaps didn't matter that much. Other side was dead easy, as there was clear access, so buttoned up in no time. And I think that's it. We may run another mastic/silicone bead around the roof wind braces and we do need to do something with the back RH corner gap below the bottom wall log (probably also silicone related) but as far as the build is concerned, we're done. As I said, there's loads of ironmongery left over. I know we used our own screws for the roof panels and for the connecting the bottom logs to the bearers (and same for connecting the roof boards to the purlins). We used the nail gun for the roofboards, floorboards and floor edge trim, so there are a gazillion floorboard nails and extra 35 mm screws, and we chose to upgrade the door locks. Oh yes, and because we switched the roof to a rubber one, there is a roof membrane and a load of clout nails left over (we gave the two rolls of roofing felt away). Two small tins of stain (because we just varnished the inside, rather than going totally sage green) which will be handy for touching up expansion gaps as they arise. The single big tin of stain isn't quite done, so we'll probably use that when we cover up the mastic prints on the roof trim then bin it. Our known spares (one long wall log, two roofboards and a floorboard) weren't really needed, though the leftover floorboard was handy for that 10 inches of trim we were short on the floor. So all in all, a very complete kit. I have sent some feedback on the instructions which were, on the whole, fine. The reason it took us pretty much 7 months from the day of delivery was timing - I wouldn't choose to start a project like this in November and lose a couple of months to really cold and very wet weather. We couldn't stain anything (or let anything dry) when the temperature was below 5 degrees. Also physical inability (both of us - although we're two competent DIYers, we probably can only muster a functional body and a half between us, and there were times that Tomas's help was invaluable), and life - because we had other things to do, including building the front deck (see DIY if you're interested in that) . Garden office, signing off.  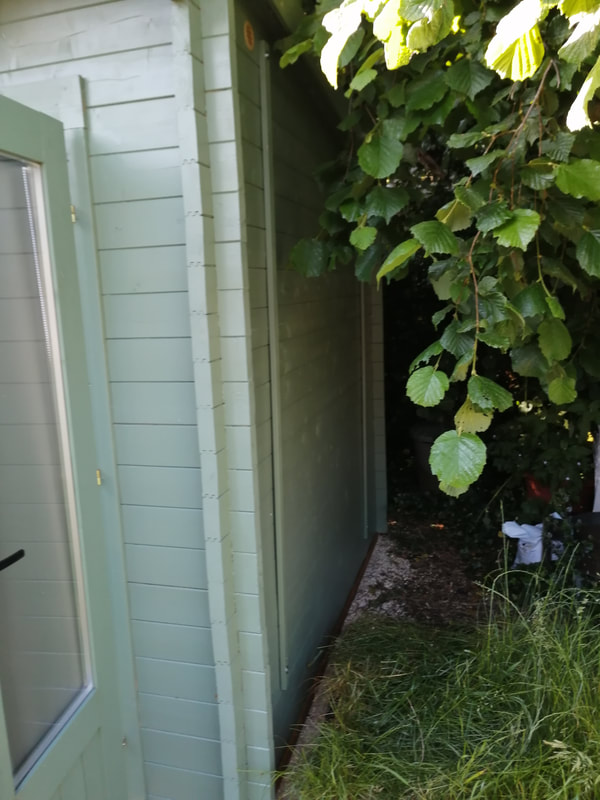 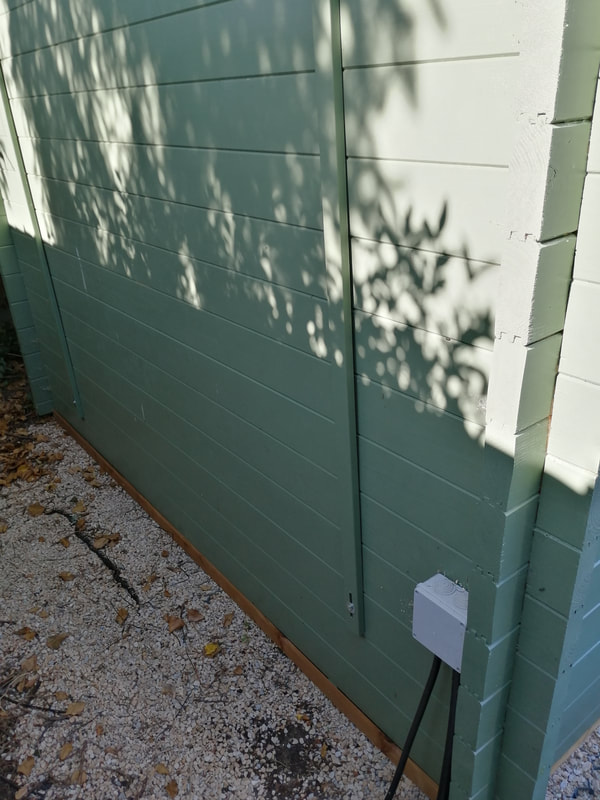   
0 Comments
Your comment will be posted after it is approved.
Leave a Reply. |
Archives
November 2023
Categories
All
|
 RSS Feed