
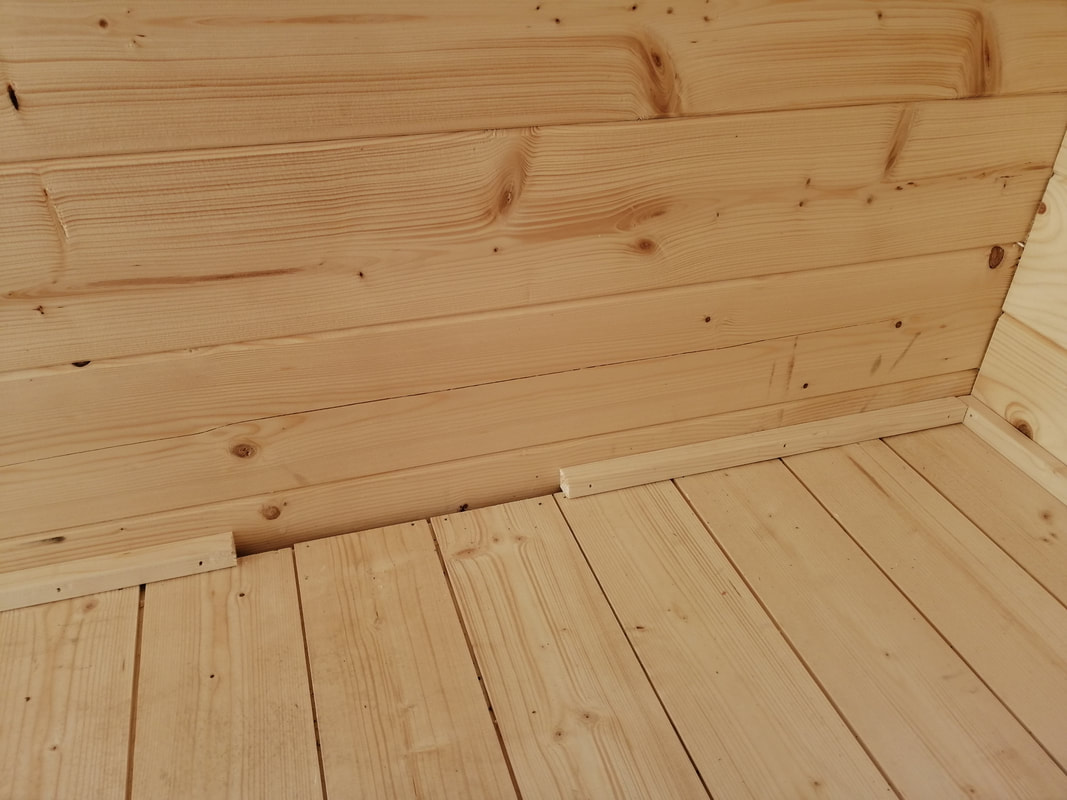
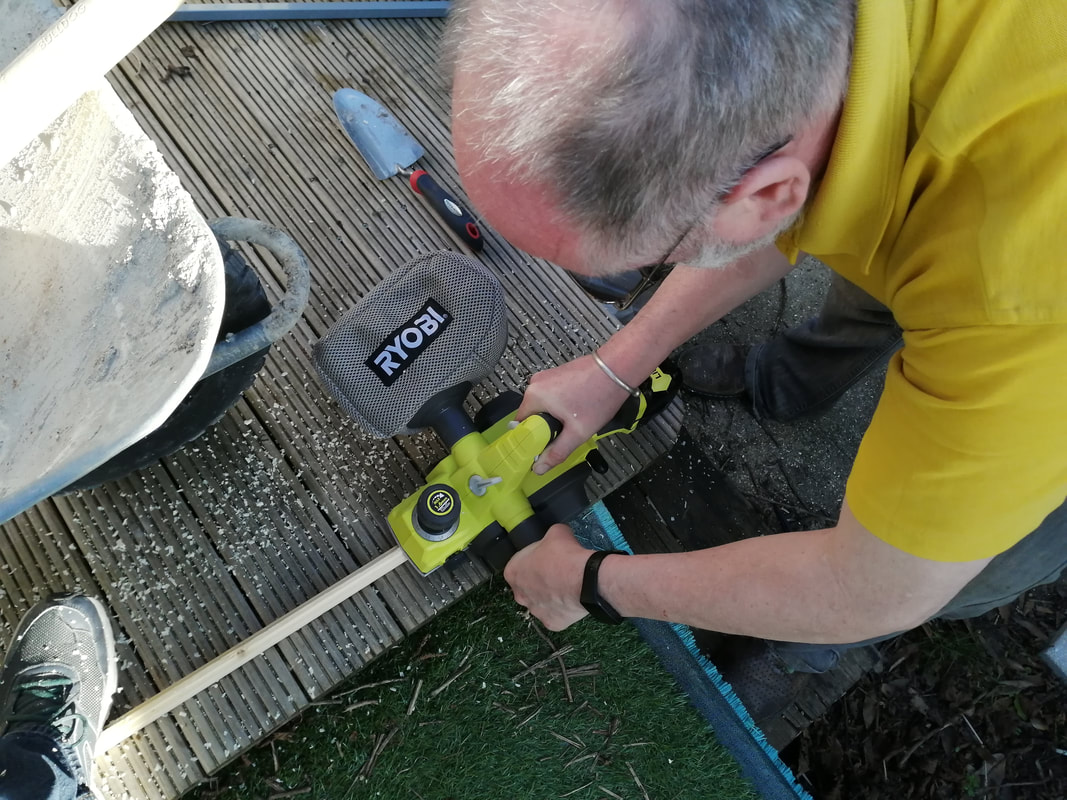
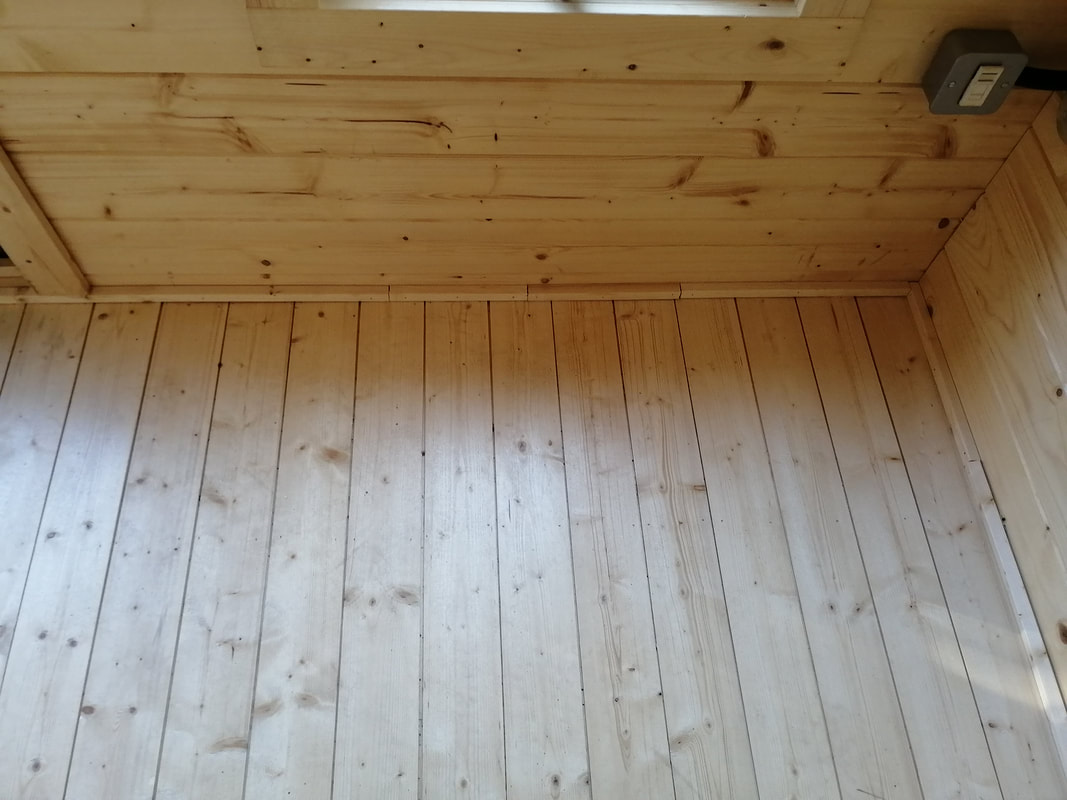
 Yesterday was much the same as the day before and about as interesting as well, watching sage green stain dry... The one exciting bit was connecting up the ethernet socket. Slightly disappointed that the nice, sexy brushed metal patress box and face plate I'd sourced to go with the metal power sockets and internal conduits had a nonstandard profile, so the ethernet faceplate I already had didn't really fit. Never mind - a bit of stuffing and shoving and it nearly fit. Cut the spare cable back, keeping a generous length for futureproofing. However, my cable stripper is rubbish so I took out a significant chunk of thumbnail doing it. Connected up 1, 2, 3 and 6, put in patch cable, connected up to the tester and yippee - it lives! Screwed on the faceplate, stuffed the spare cable in then shoved in the connected ethernet socket. Job done. Today was glorious. Decided to give any more staining a rest (bored with that for now) and put in the lighting, ready for the power to go in. The LED lighting kit we'd bought consisted of two 5 metre LED strips, a controller/switch with two connectors (one per strip) then the power supply. Given the pent nature of the roof, I couldn't figure out a sensible way to get a continuous strip at the same height all round. It needed to be below the purlins on the back wall and above the window/door openings on the front wall - a height difference of about 4 inches. After a bit of chin stroking, I bit the bullet. Cleaned along the back wall below the purlins and the very bottom of the highest possible RH wall log and around the corner to the front wall to the left (looking out) of the door. Unrolled the first strip so I could start from the non-socketed end, fiddled with the backing strip on the double sided tape (that was fun - managed to take a couple of inches off before I realised it was the wrong backing tape) and started from the back corner above the shelving unit. It stuck really well, I peeled off a couple of feet of backing tape and gently pressed into place, keeping it 2 inches below the top of the log. Got to the corner and decided to leave a little bit of slack to allow for wall movement before proceeding along the RH wall to the front. Tape ran out about 4 cm short of the corner - good enough. I then repeated the process from the same corner, going the other way, but at the upper edge of the same side log on the LH wall. That was to accomodate the door and window frames. Again, I left a bit of slack when I turned the corner and proceeded along the front wall, again, ending about 4 cm short. Now with the strips in place, I took off the silver annoying bits of sticky tape that stopped you sticking the socketed ends down and stuck the ends down. A bit of fiddling with the control box to decide how to connect them up and position the light switch, decided on using one of the tape fixing plastic thingies to hold the splitter horizintal and that seemed to be the best arrangement. Next job of the day was to install the floor trim, so I got my first go with the nail gun (me like). Simple job, just laying the 19 x 19 mm strips along the base of the wall and nailing them in to place. I needed to decide which bits weren't going to be disguised by furniture to place the joins. The Japanese pull saw was perfect for cutting the fillers, so it was a job I could do pretty much on my own. The only bit I needed some advice on was the doorway, where the trim woudn't fit under the doorframe. Dave persuaded it with the mallet, then I pinned the last bits in, with a short gap left under the window, where it will be disguised by the desk. Dave reckons we can plane the tongue off the spare bit of floorboard to create a small piece to fill in*. Other bits done today were fitting the internal vent grilles (which I later realised were actually the external ones - so I'll change those over later) and putting in the lateral stabilising screws over the door and window frames (once we found them) and covering them with the Dunster House plates to cover the slots.
0 Comments
Your comment will be posted after it is approved.
Leave a Reply. |
Archives
November 2023
Categories
All
|


 RSS Feed