
|
Time to do all the fiddly stuff around the roof and get rid of the flappy bits. I was primed to assmble the L-shaped sections and Dave was up for glueing the rubber edges around, but in the end, it didn't quite work out that way. I pulled out the 3 eaves boards and picked the one with least knots for the front fascia. Measured and drilled some pilot holes after identifying the slightly twisted 19x19 mm section and started assembling. Dave then came out with the mastic gun and decided it wasn't a good day for him to be waving his arms around above his head, so we swapped roles, I pulled on some purple gloves (don't like mucky hands) and set to the front face running a bead of black gooey mastic along the edging boards we attached last time out. Had to move the bench a couple of times, then after completing a right to left pass, came back the other way with the staple gun, pressing the roofing material into the glue as I went. Seemed to go OK actually. Next phase was to offer up the fascia board and mark the points where we were supposed to screw in to the ends of the purlins. That kind of went OK, then Dave decided it would be a good idea to run a bead of mastic into the corner of the L shape to make it more water resistant. Messy. Did that, offered the board up again and got the screws in nicely. One down. Deliveries were due at that point, so Dave went in to wait. I trimmed the rubber along the front, starting with scissors, but needed to use a craft knife at the purlins because there was no wiggle room for the scissors. I discovered at that point that the rubber tore quite nicely in a reasonably straight line, so took that approach (apart from the join in the middle, which needed scissors again. After rehydrating from that exertion (ginger ale - it was warm today) I did the mastic and staples thing along the back and the fence side. After trimming the front the painful way, I decided it was easier to trim the rubber before the fascia boards went on. Dave reappeared post-Morrisons and we marked up the rear boards for pilot holes and attached those next, cutting the second piece to fit, meaning there would be staining required later. Again, Dave ran a mastic bead along it for waterproofing, and sadly I got the stuff all over my hands (wasn't wearing gloves at this particular point). The side pieces were a bit awkward, in that they were L shaped but because of the slope of the roof, we needed to cut them at an angle, and create a gap for the L-shaped bits to fit together. We offered up the fence side and drew lines at the front and back to cut the angles and notch the L piece. Having done that, we offered up again to work out where to drill the pilot holes (which was a pain because of the rubber overhang) and decided just to measure and assume everything was going to be straight (fingers crossed). Average overhang was 25 mm so we added half the width of the edging boards and drilled pilot holes at 35 mm. Pretty perfect when it came to it. Bead of mastic oozed again, and another pair of sticky hands were in evidence, along with some sticky black touch points along the board. Trim and angles worked though, so satisfactory overall. We had a brief discussion about (a) whether there would be enough mastic left and (b) should we leave the last board until tomorrow. Answers were "who knows" and "let's get it done". I did the mastic and staples thing and then offered up the partial L side for measurement and angles etc. We created essentially a mirror image of the other side. We had a brief discussion on whether to go pilot hole hunting again and decided how different could it be - so drilled pilot holes at 35 mm again. While he was doing that I trimmed the rubber down. Dave teased the last out of the mastic gun - there was just enough, literally, to put that final bead on. We then person-handled the final (!) fascia board into place and put the first screw in, but the second was too low and missed the edging board (so much for mirror image!). Dave put that one in at an angle and all the others were fine. Hurrah! The roof is done :) Last thing was to stain all the various cut ends, which was not easy when staring up into the sun, but 'tis done. The only remaining thing is to fit the storm braces, which involves drilling 8 holes, fitting 4 bolts and 4 wing nuts. Seriously nearly done! 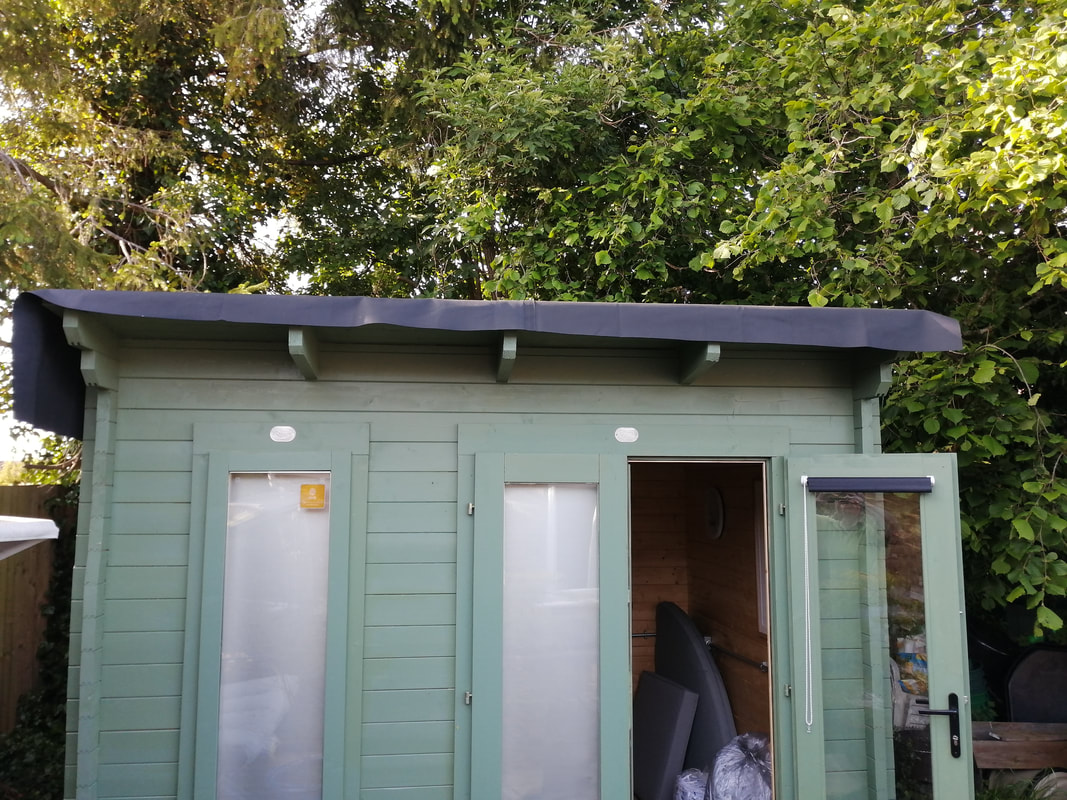 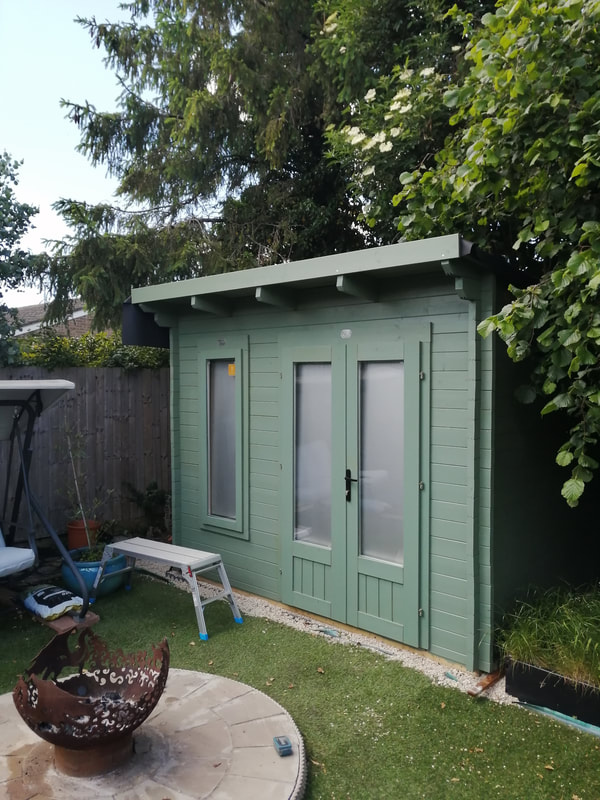  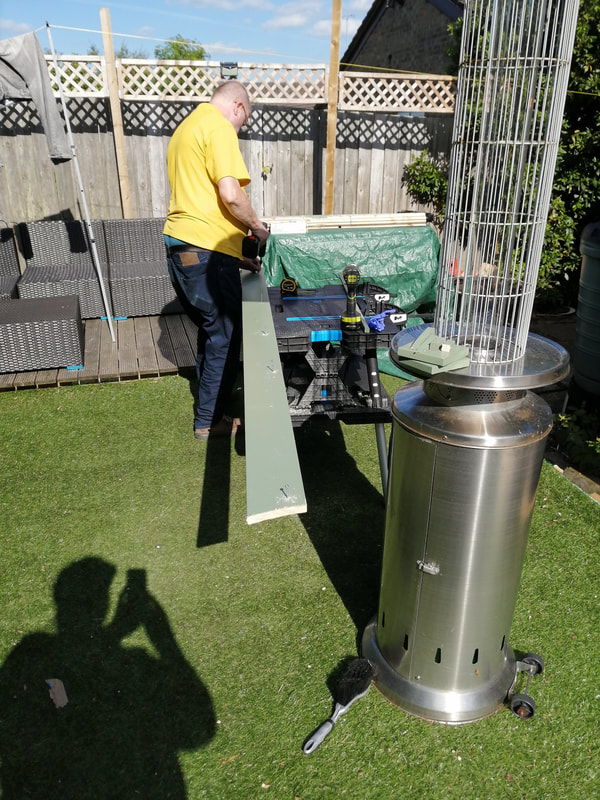 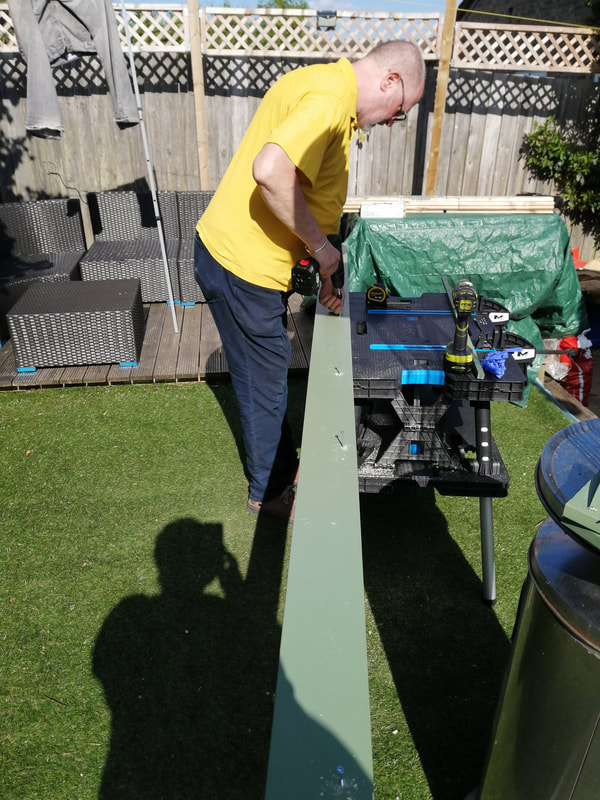 
0 Comments
Your comment will be posted after it is approved.
Leave a Reply. |
Archives
November 2023
Categories
All
|
 RSS Feed